Lync 2013 Standalone Client Activation
How do you activate the Lync 2013 stand-alone client during installation?
====
Most organisations install the Lync 2013 Client as part of Office 2013, however there is a standalone installer for Lync 2013. Quite a substantial 800Mb ISO containing both the x64 and x86 clients.
Now, the problem with just installing this client is that by default it won’t be activated. You won’t actually know however...until your 60 days is up and your clients start getting the activation prompts. That’s not ideal.
Now, just like Office, it’s possible to use the customisation tool to enter your product key during setup. Very easy to do, so let’s have a look at that.
Firstly, you must have the Lync 2013 Standalone Installer of course.
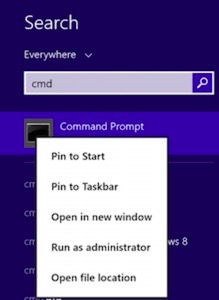
Start a COMMAND Prompt with elevated rights - I.e. Right-click run as administrator:
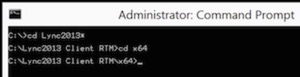
Change into the directory containing the correct client you wish to install - x64 or the x86. In my example, I’m using the x64 client:
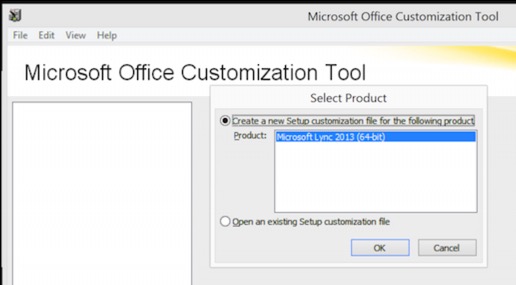
Next, start the customisation tool using the command ‘setup /admin’. You’ll see it prompts you for the package name - click OK.
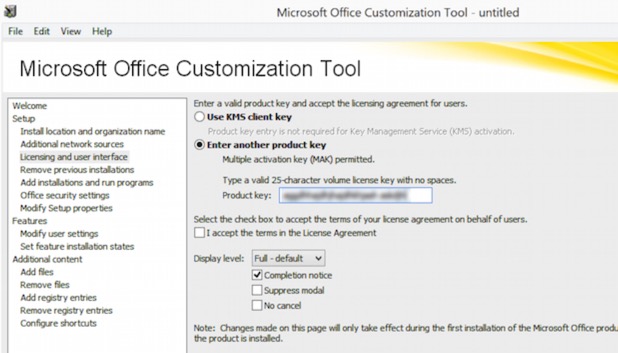
There are numerous settings in this tool that you can modify - but the one we’re really interested in is under ‘Licensing and User Interface’. Enter your product key in here, and also accept the license agreement.
When you have made all the changes you want, select ‘Save As’ and save the MSP file. I’ve saved it into the same directory as the client, and called it ‘installAdmin.msp’.
To install, using this template, use the command:
Setup.exe /adminfile installAdmin.msp
...obviously from an elevated command prompt, and in the directory containing setup.exe and the MSP. The package will now go off and install using your activation key. You can of course use it to configure with KMS too.
blog comments powered by Disqus