Duplicating your Active Directory for a Test Environment
24/05/13 21:59 Filed in: Windows
How do you create a replica of your active directory for testing purposes?
====
Let’s look at a simple way to get a copy of your live Active Directory environment for testing purposes. The process is:
- Implement a new domain controller in your live environment
- Physically separate this new domain controller (after it’s synchronised) to a completely separate network.
- Fire up the new domain controller and seize all of the flexible single master operation roles to your newly isolated domain controller
- Clean up the live environment removing the dead domain controller
What you’re left with is a complete copy of your Active Directory domain, in a completely isolated environment. Forgive the incessant bolding of the separation but it’s a very important point - once you’ve isolated that domain controller and seized the FSMO roles you absolutely must not let it out in to the wild - it would roam wild and cause all kinds of unhappiness. At best, it would ruin your weekend.
It’s pretty easy to do in reality - process is:
- Promote and synchronise a new domain controller
- Physically separate (there I go with the bold again) the unit from your main network.
- Seize the FSMO roles on the disjointed Domain Controller making a whole self-contained copy of your Forest
- Remove the domain controller and associated meta-data from your live domain.
So let’s run through the seizure, and clean up of the original Active Directory. I’m assuming you know how to promote a new domain controller, and physically separate it from your main network.
Seizing of FSMO Roles
On your new and isolated domain controller you need to seize five FSMO roles - these are:
- Schema Master - Forest-wide and one per forest.
- Domain Naming master - Forest-wide and one per forest.
- RID Master - Domain-specific and one for each domain.
- PDC Emulator - PDC Emulator is domain-specific and one for each domain.
- Infrastructure Master - Domain-specific and one for each domain.
Of course you’ll need relevant permissions to seize these roles - Schema & Enterprise Admins.
We can seize them all using the NTDSUTIL utility - let’s go through each of them in turn. Firstly, we need to set up NTDSUTIL - so fire it up from Start/Run, or from a DOS prompt - and do this:
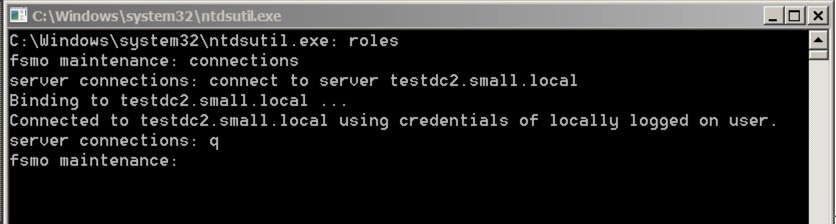
The commands are:
- Roles
- connections
- connect to server your server
- q to quit to the higher menu
Next, we’re going to seize each role in turn. To seize each role you use:
- seize role
..where role is:
- pdc
- schema master
- naming master
- rid master
- infrastructure master
So let’s do the PDC first. The command is:
- seize pdc
Once you enter that, you’ll receive a warning similar to this:
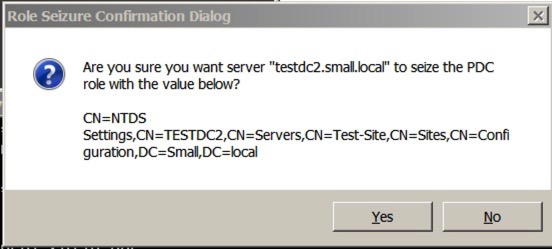
Say yes, and let it complete. You’ll see the completion/process in the window:
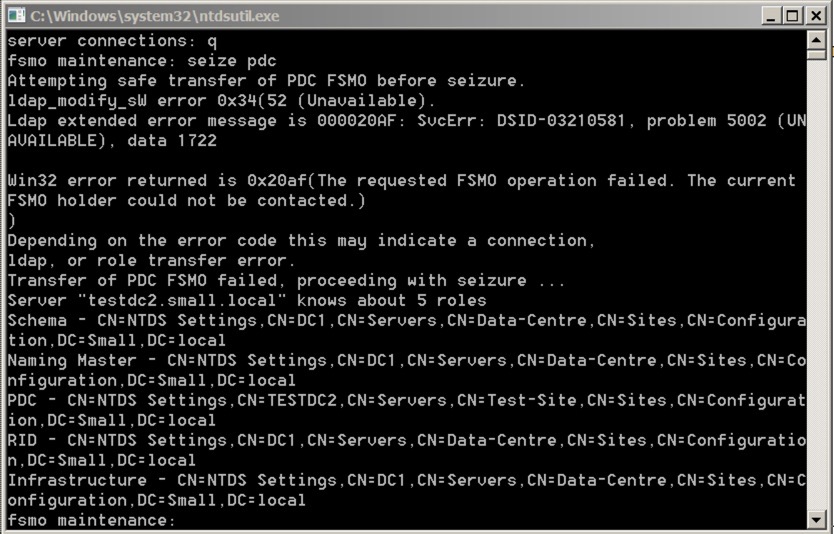
Notice that it first tries to do an orderly transfer before going through the seizure.
You’ll need to do the same for all of the remaining roles. Once they’re done, you’ll have a fully isolated copy of your Active Directory, complete the FSMO roles. You can then go off and do all of your testing in that environment - remember you must not allow this domain controller back on to your main network.
Clean up your Live Active Directory
Once you’ve removed your DC and isolated it, you’ll still be left with all the objects in your live Active Directory - we’ll need to clean that up. Firstly, we need to fire up NTDSUTIL and connect to the relevant service. You do this as follows:
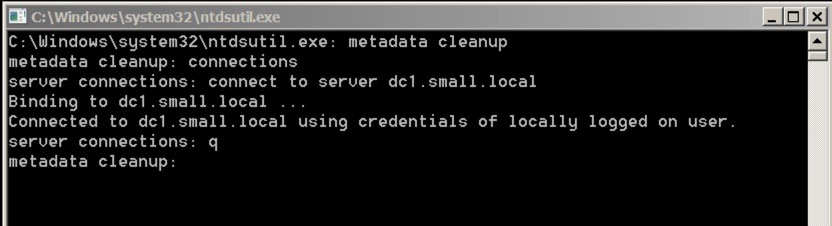
The initial commands are:
- Metadata cleanup
- connections
- connect to server your server
- q
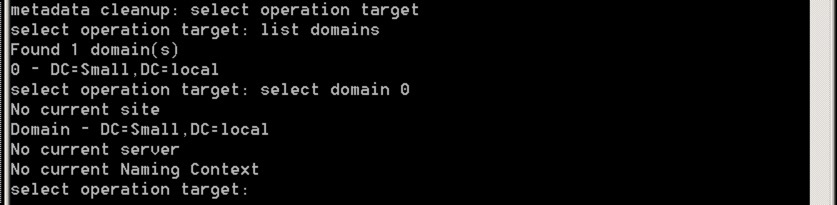
We’re now ready to connect to to the items to clear up - to do this, you need to select the right domain, site and server. Let’s go through how you do this - firstly, from the NTDSUTIL use the following commands:
- select operation target
- list domains
- select domain number
What you’re doing is selecting the relevant domain - it should look like this:
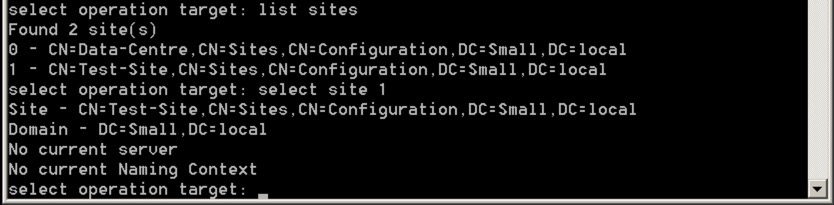
Next, we’re going to select the site with these commands:
- list sites
- select site number
It should look like this:
Finally, we’re going to select the relevant server in that site using these commands:
- list servers in site
- select server number
- q
The q takes us back to the metadata cleanup level with the correct server specified - it should look like this:

The last stage is to delete the server - you do this using this command:
- remove selected server
You’ll quite rightly receive a warning like this:
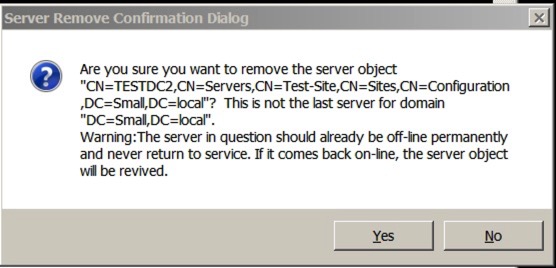
Say yes and let the command complete - the output should be like this:
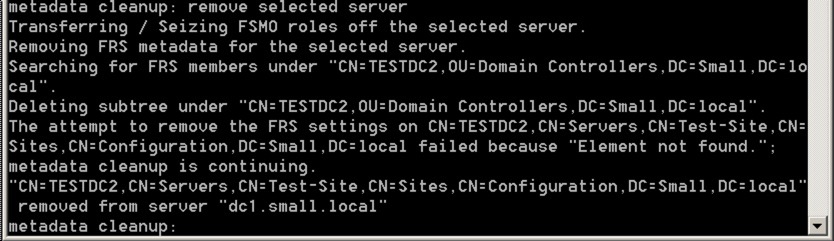
…and you’re done! It’s worth scanning through your DNS too to see if there are any remnant records for the removed server too, but you’re pretty much done now and ready to go.
There’s a video below running through the whole process too, should you want to see it all in action.
blog comments powered by Disqus